Senna is an audio-visual instrument for children that I made in 2010 with EboStudio, based on my professional audio-visual instrument SenS IV. It was installed in the ‘Klankspeeltuin’ (‘Sonic Kindergarten’) and in the Royal Tropical Institute in Amsterdam. The aim of my technical development is to create the ultimate audio-visual instrument. To make it possible to work with visuals and music at the same time, in one unified creative process. The Senna software is used for the production of SenSei and Augmented Stage.
Concept
Senna takes children step-by-step through the process of making an audio-visual composition. They learn how to download YouTube videos, make video beats, video melodies, construct a story with video samples and apply audio-visual 3D effects. At the end of their journey they have made their first composition already!
Children can make up to 8 audio-visual compositions and do a performance to present their work. You can call Senna an audio-visual instrument or a interactive 3D tutorial, but most children call Senna a ‘film making game’ or a ‘3D children’s book’. This project won a Best Practice Rozet.
3D Interface
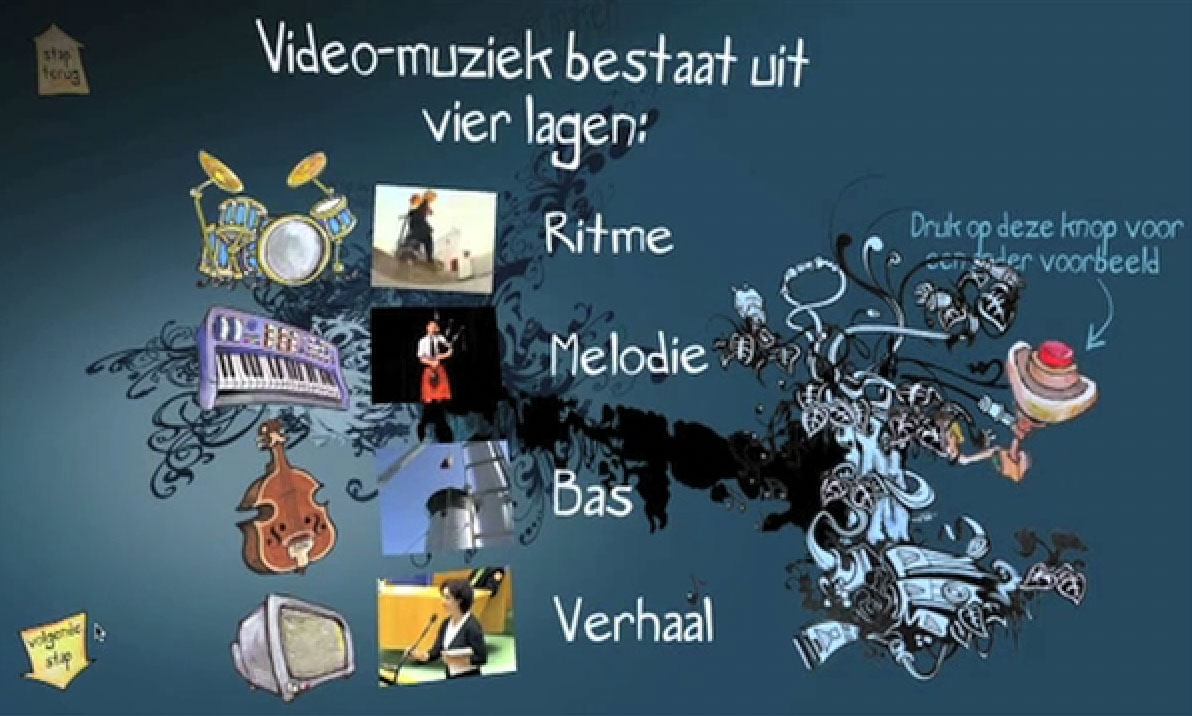
The interface of Senna comprises of a virtual 3D space where all the interface elements coexist together. Children are guided through the creative process by instructions integrated in the 3D interface. In 25 steps they make a video collage consisting of four layers: a video rhythm, a video melody, a video bassline and a story. They can enhance the collage with 3D audio-visual effects. All functions of Senna operate in real-time, so children can play and experiment intuitively.
This video shows a run-through of the 3D interface. From the introduction, to making a beat, a melody, a bass line, a story and to the final step where children do a performance with their work.
Development
We developed Senna on the basis of many workshops with children. We interviewed them and tried many prototypes. Creating an inspiring, intuitive interface/workflow for young children is difficult, so these workshops were very important (and pretty exhausting). Making music with video is a new concept for children, so it was important to make the process fun and easy to understand.
The final result was very successful. Even young children, as young as 7 years, were able to play with Senna independently and have a lot of fun! The instructions, the creative browser, the easy sequencer, fun audio-visual effects and mixer and the hardware controller made Senna very easy and entertaining to use.


Making a composition
Senna guides children step-by-step through the process of making an audio-visual composition. All interface elements and guide texts coexist together in a virtual 3D space. Every step smoothly flows into the next step. For this we used SenS IV’s real-time motion graphics software and made it interactive. Below, these steps are described and shown in separate videos.
Before children start making their own composition, Senna shows them a few examples. Pressing the button changes the example composition. Clicking on the arrow in the lower right corner takes them to the next step.
In the next step Senna explains the basic structure of a video music composition. Senna explains the four layers: the video beat, video melody, video bassline and story. Clicking on the button changes the example. Clicking on the arrow in the lower left corner takes them a step back, clicking on the arrow in the right corner takes them to the next step.
The next step introduces the first layer; the video rhythm.

A video rhythms consists of three elements (a bassdrum, a snaredrum and percussion). So the child asked to look for three videos for the rhythm.
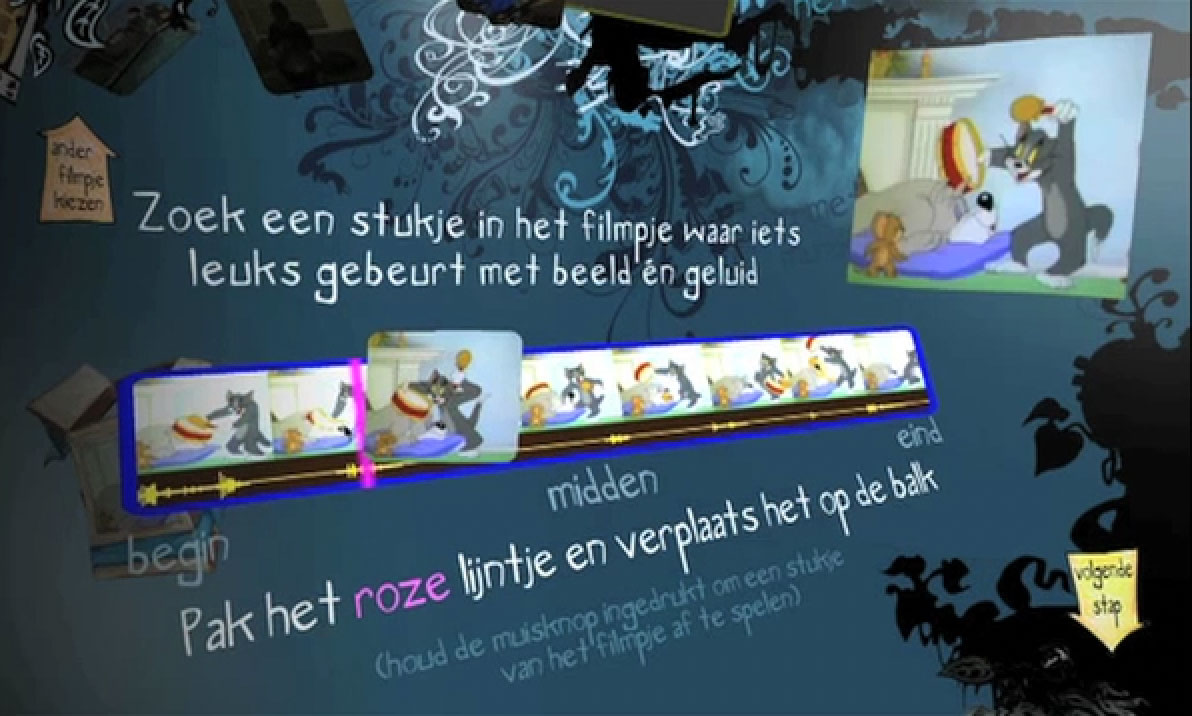
In the next step the child looks for the first video in the browser tree. This tree is filled with short videos automatically selected by Senna. Senna shows videos from the database that have a similar frequency spectrum as a bassdrum. Clicking on the arrows in the tree changes the videos in the tree. Children select a video by dragging it into the box. The video will be played in a rhythmical pattern. The child can not watch the entire video, so he/she doesn’t get distracted and watch long videos and doesn’t move on. He/she is drawn into the process of making music immediately.
After a video is selected the child selects a point in the video to use in the next step. A bar represents the timeline of the video. Clicking on the bar changes the point in the video that is used in the rhythm. Senna automatically jumps to a point in the video that has a loud volume and a low frequency spectrum (the characteristics of a bassdrum sound). The arrow in the lower left corner takes the child back to the browse tree to select another video
In the next steps this process is repeated for the second video for the rhythm (the snare drum) …
… and the third video for the rhythm (percussion).
Then it is time to create a rhythm! To make it easy for children to create their own rhythm and have interesting results quickly, we developed a very easy to use sequencer.
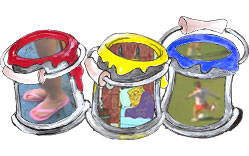
A green line is moving from left to right over three layers of blocks. Each layer has a specific color, red, blue and yellow. When the green line hits a block a video is triggered, a red block triggers the bassdrum video, the blue block the snaredrum video and the yellow block the percussion video.
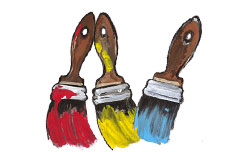
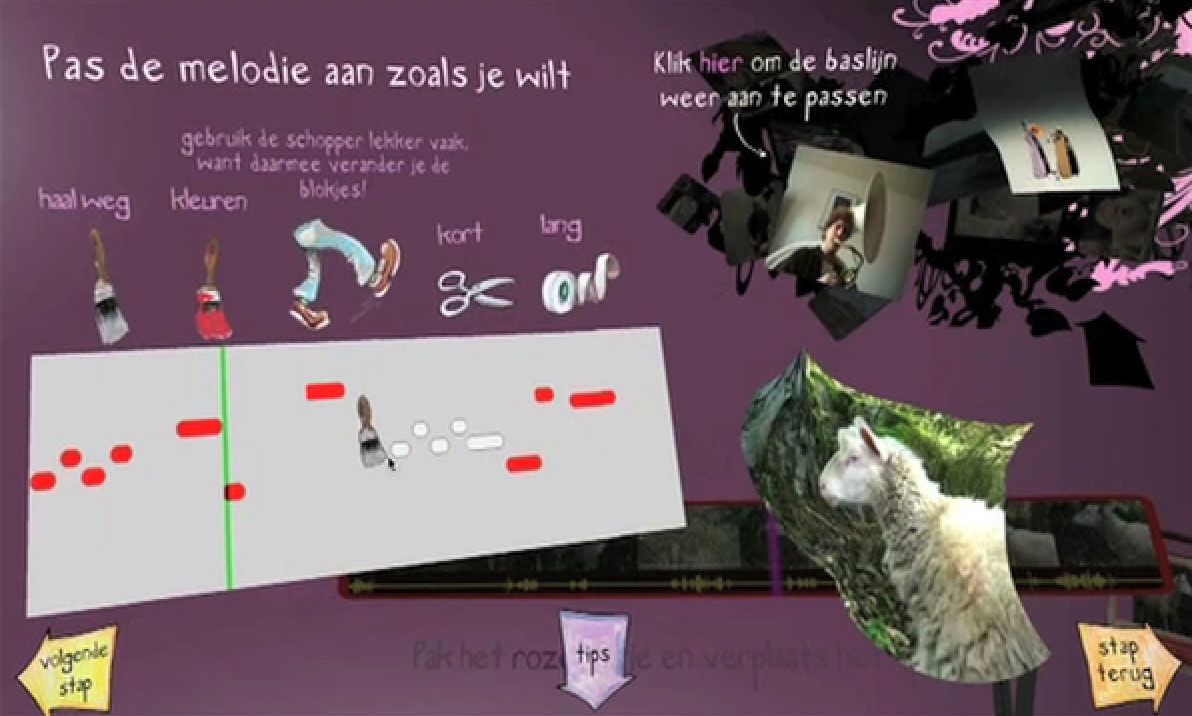
There are five tools to change the pattern (sequence) of the blocks: kicking legs, coloured paint brushes, a grey paint brush, sticky tape and scissors.
Clicking with the kicking legs on the sequence changes the order of the blocks. The sequence is splitted in eight parts. Kicking replaces one of these parts with another sequence part, randomly choosen form a large sequence database by Senna. Kicking a part and holding down the mouse button while moving over the sequence parts, changes these parts with new parts from the same sequence.
Painting with the paint brushes changes the color of the blocks and thus the videos being triggered. Senna automatically chooses percussion, bassdrum or snaredrum sounding samples (depending on the layer the block is on) from the video, close to the sample selected by the child after they selected the video from the browse tree. This way the rhythm will stay in tact.
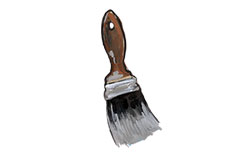
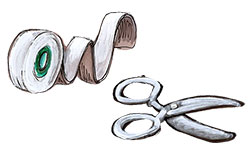
The grey brush paints blocks grey, which means they will not trigger videos. Clicking on a block with the sticky tape makes a block longer. Clicking with the scissors on a block makes the block shorter.
The paint buckets are not tools. They show what color represents which video.
After making their own rhythm, children apply audio-visual effects to the rhythm in the next step. These audio-visual effects respond differently to bassdrum, snaredrum and percussion samples automatically, amplifying the rhythm. The children can choose between different audio-visual by clicking the button.
Then it is time for the next layer: the melody!
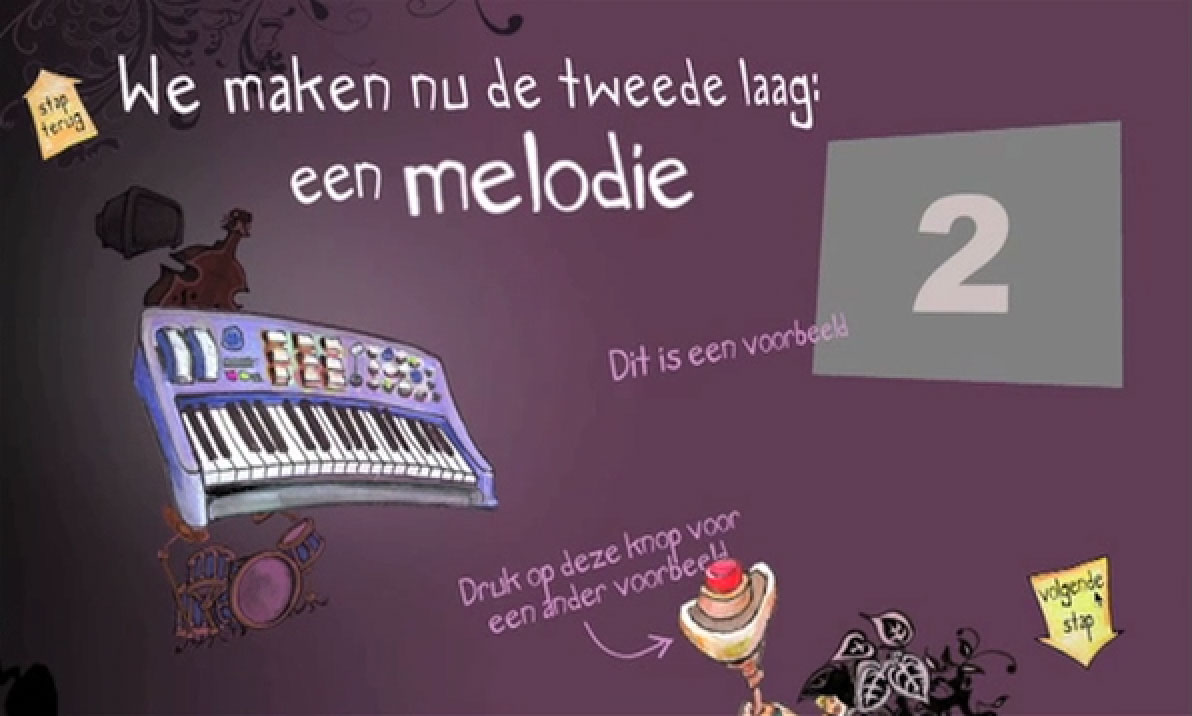
The first step to make a melody is selecting a video from the browse tree and selecting a sample from that video.
In the next step the sequencer returns, but now with melody patterns. Kicking the sequence changes parts of the pattern. Listening and kicking nnd using the sticky tape, grey paint brush and scissors is a fun and easy way to create an original melody.
Then children use audio-visual effects to change the sound and visual of the melody video.
In the next step the children mix adjust the volume of the two layers they have made, the rhythm and the melody. They adjust the volume so they sound well together.
Then it is time to make the third layer, the bass line.
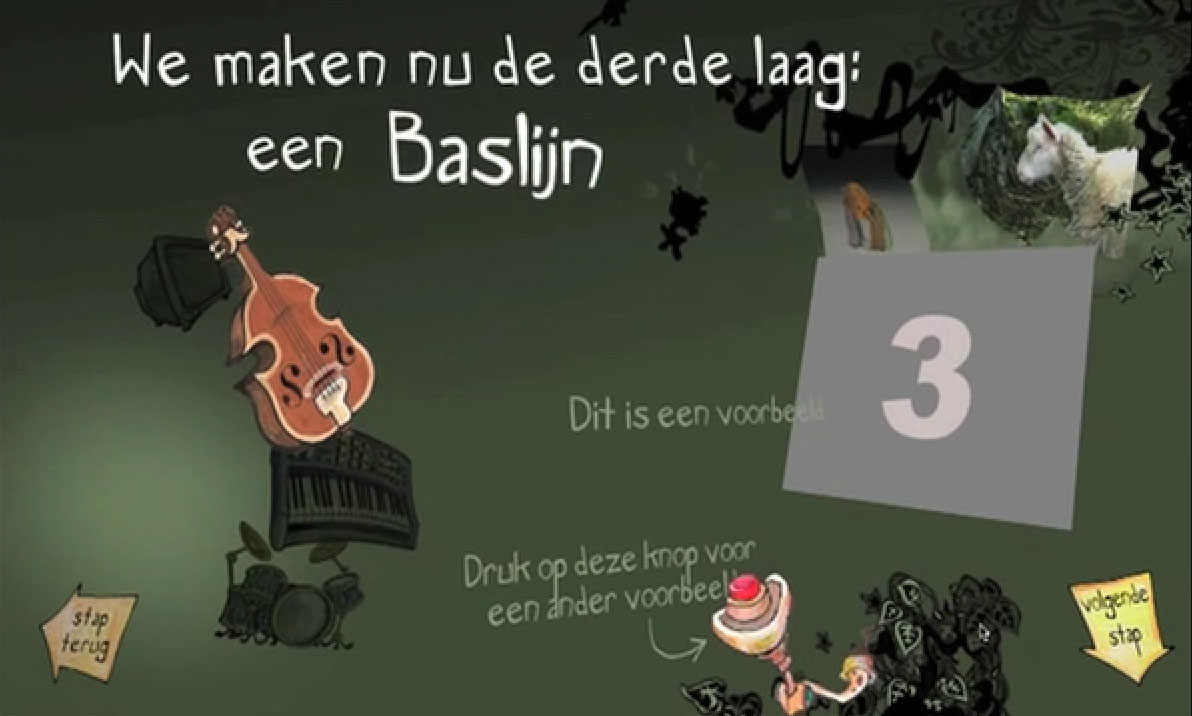
Again, the first step is to select a video video from the browse tree and to select a sample from that video.
In a similar fashion as they made a melody, they make bass line with the sequencer.
They can easily switch between the melody sequencer and the bassline sequencer, to make these two sequences work well together.
With audio-visual effects the video is morphed into a bass sound and cool 3D visual effects. With the button different effects can be selected.
With the mixer children adjust the volume of the three layers, the rhythm, the melody and the bassline, so they sound good together.
And then it is time to make the final layer, a story line.
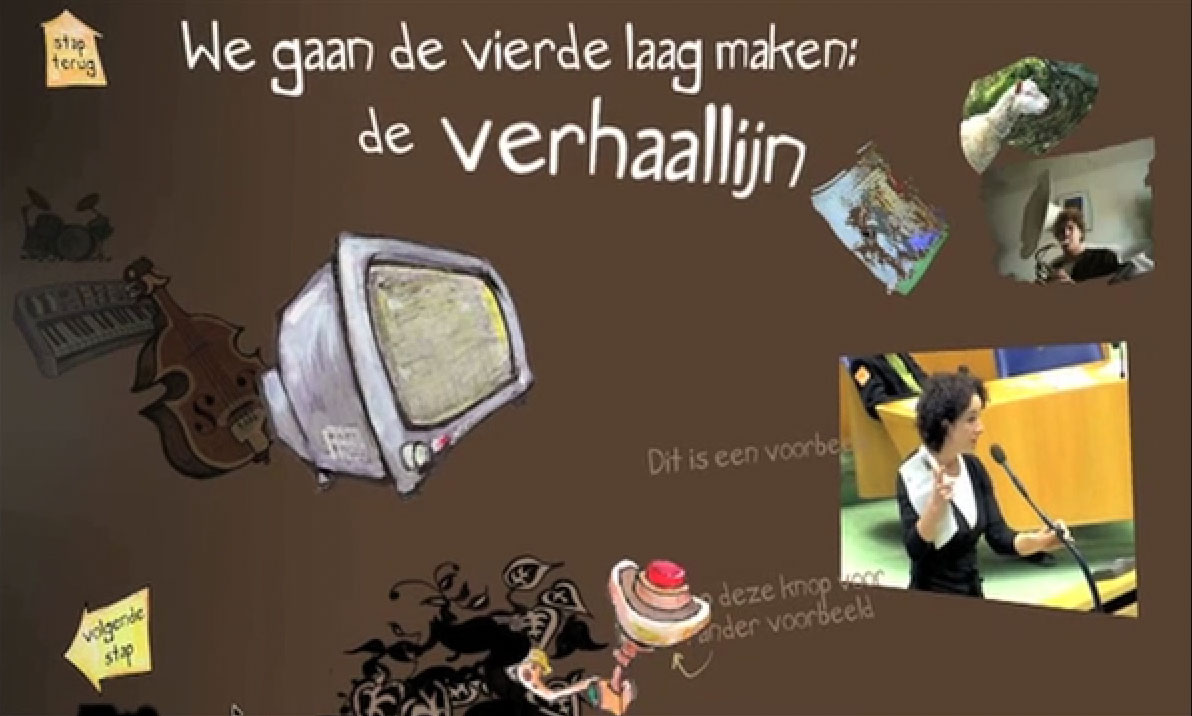
For a story line, children need to select three different words from the browse tree. To do so the tree is filled with people talking about different subjects.
Finding the right combination of words is a puzzle, so the sequencer, browse tree and sample select bar are together in one screen. Children can easily select videos, samples and change patterns at the same time this way.
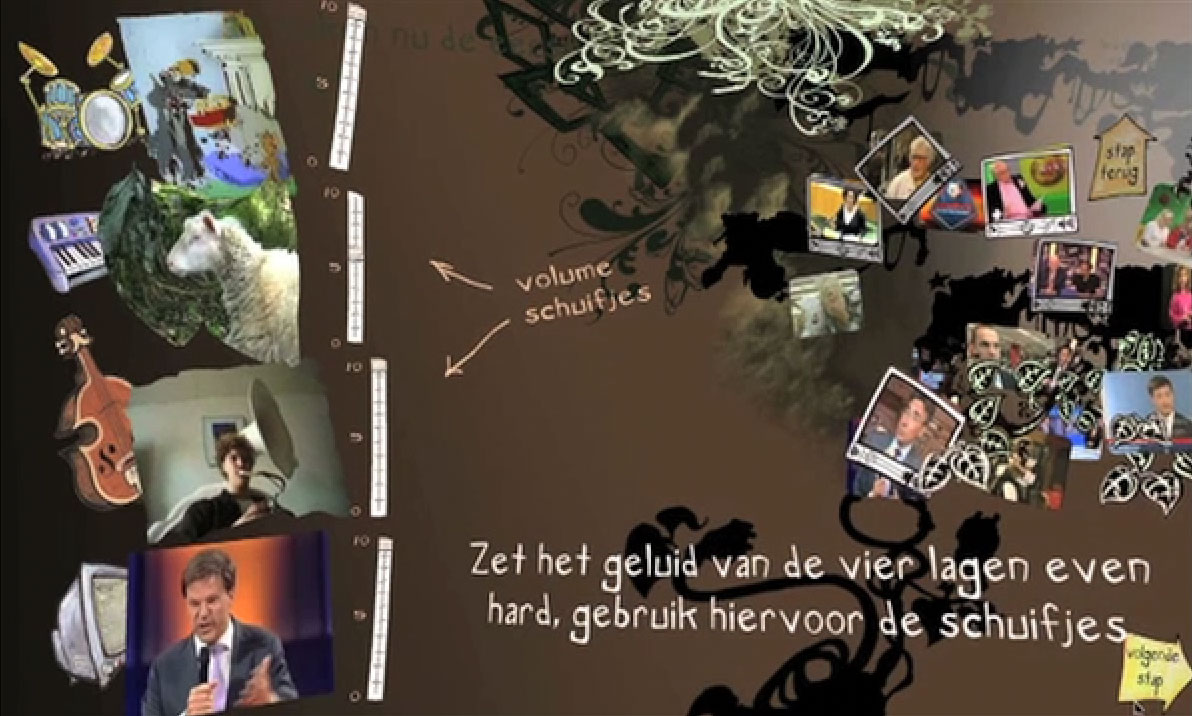
The last step is to adjust the volume of the four layers.
Performance
All layers are finished. The rhythm, the melody, the bassline and story line. A cool composition! That needs to be stored ofcourse. Clicking on four empty squares stores the composition. There is room for eight compositions.
Clicking on squares that are already filled, opens this composition. With the Senna controller children can perform their compositions live. With the sliders they can turn an layer on and off and change the audio-visual effects live. With the dials they can rotate the layers. The layer automatically change position and dance around in 3D space.
Children do a performance combining the stored compositions, turning layers on and off and playing with the effects. Like a professional audio-visual artist!

Bonus
Team
Produced and developed by:
- Bas van der Graaff
- Jeroen Hofs
- Timo Rozendal
- Nenad Popov